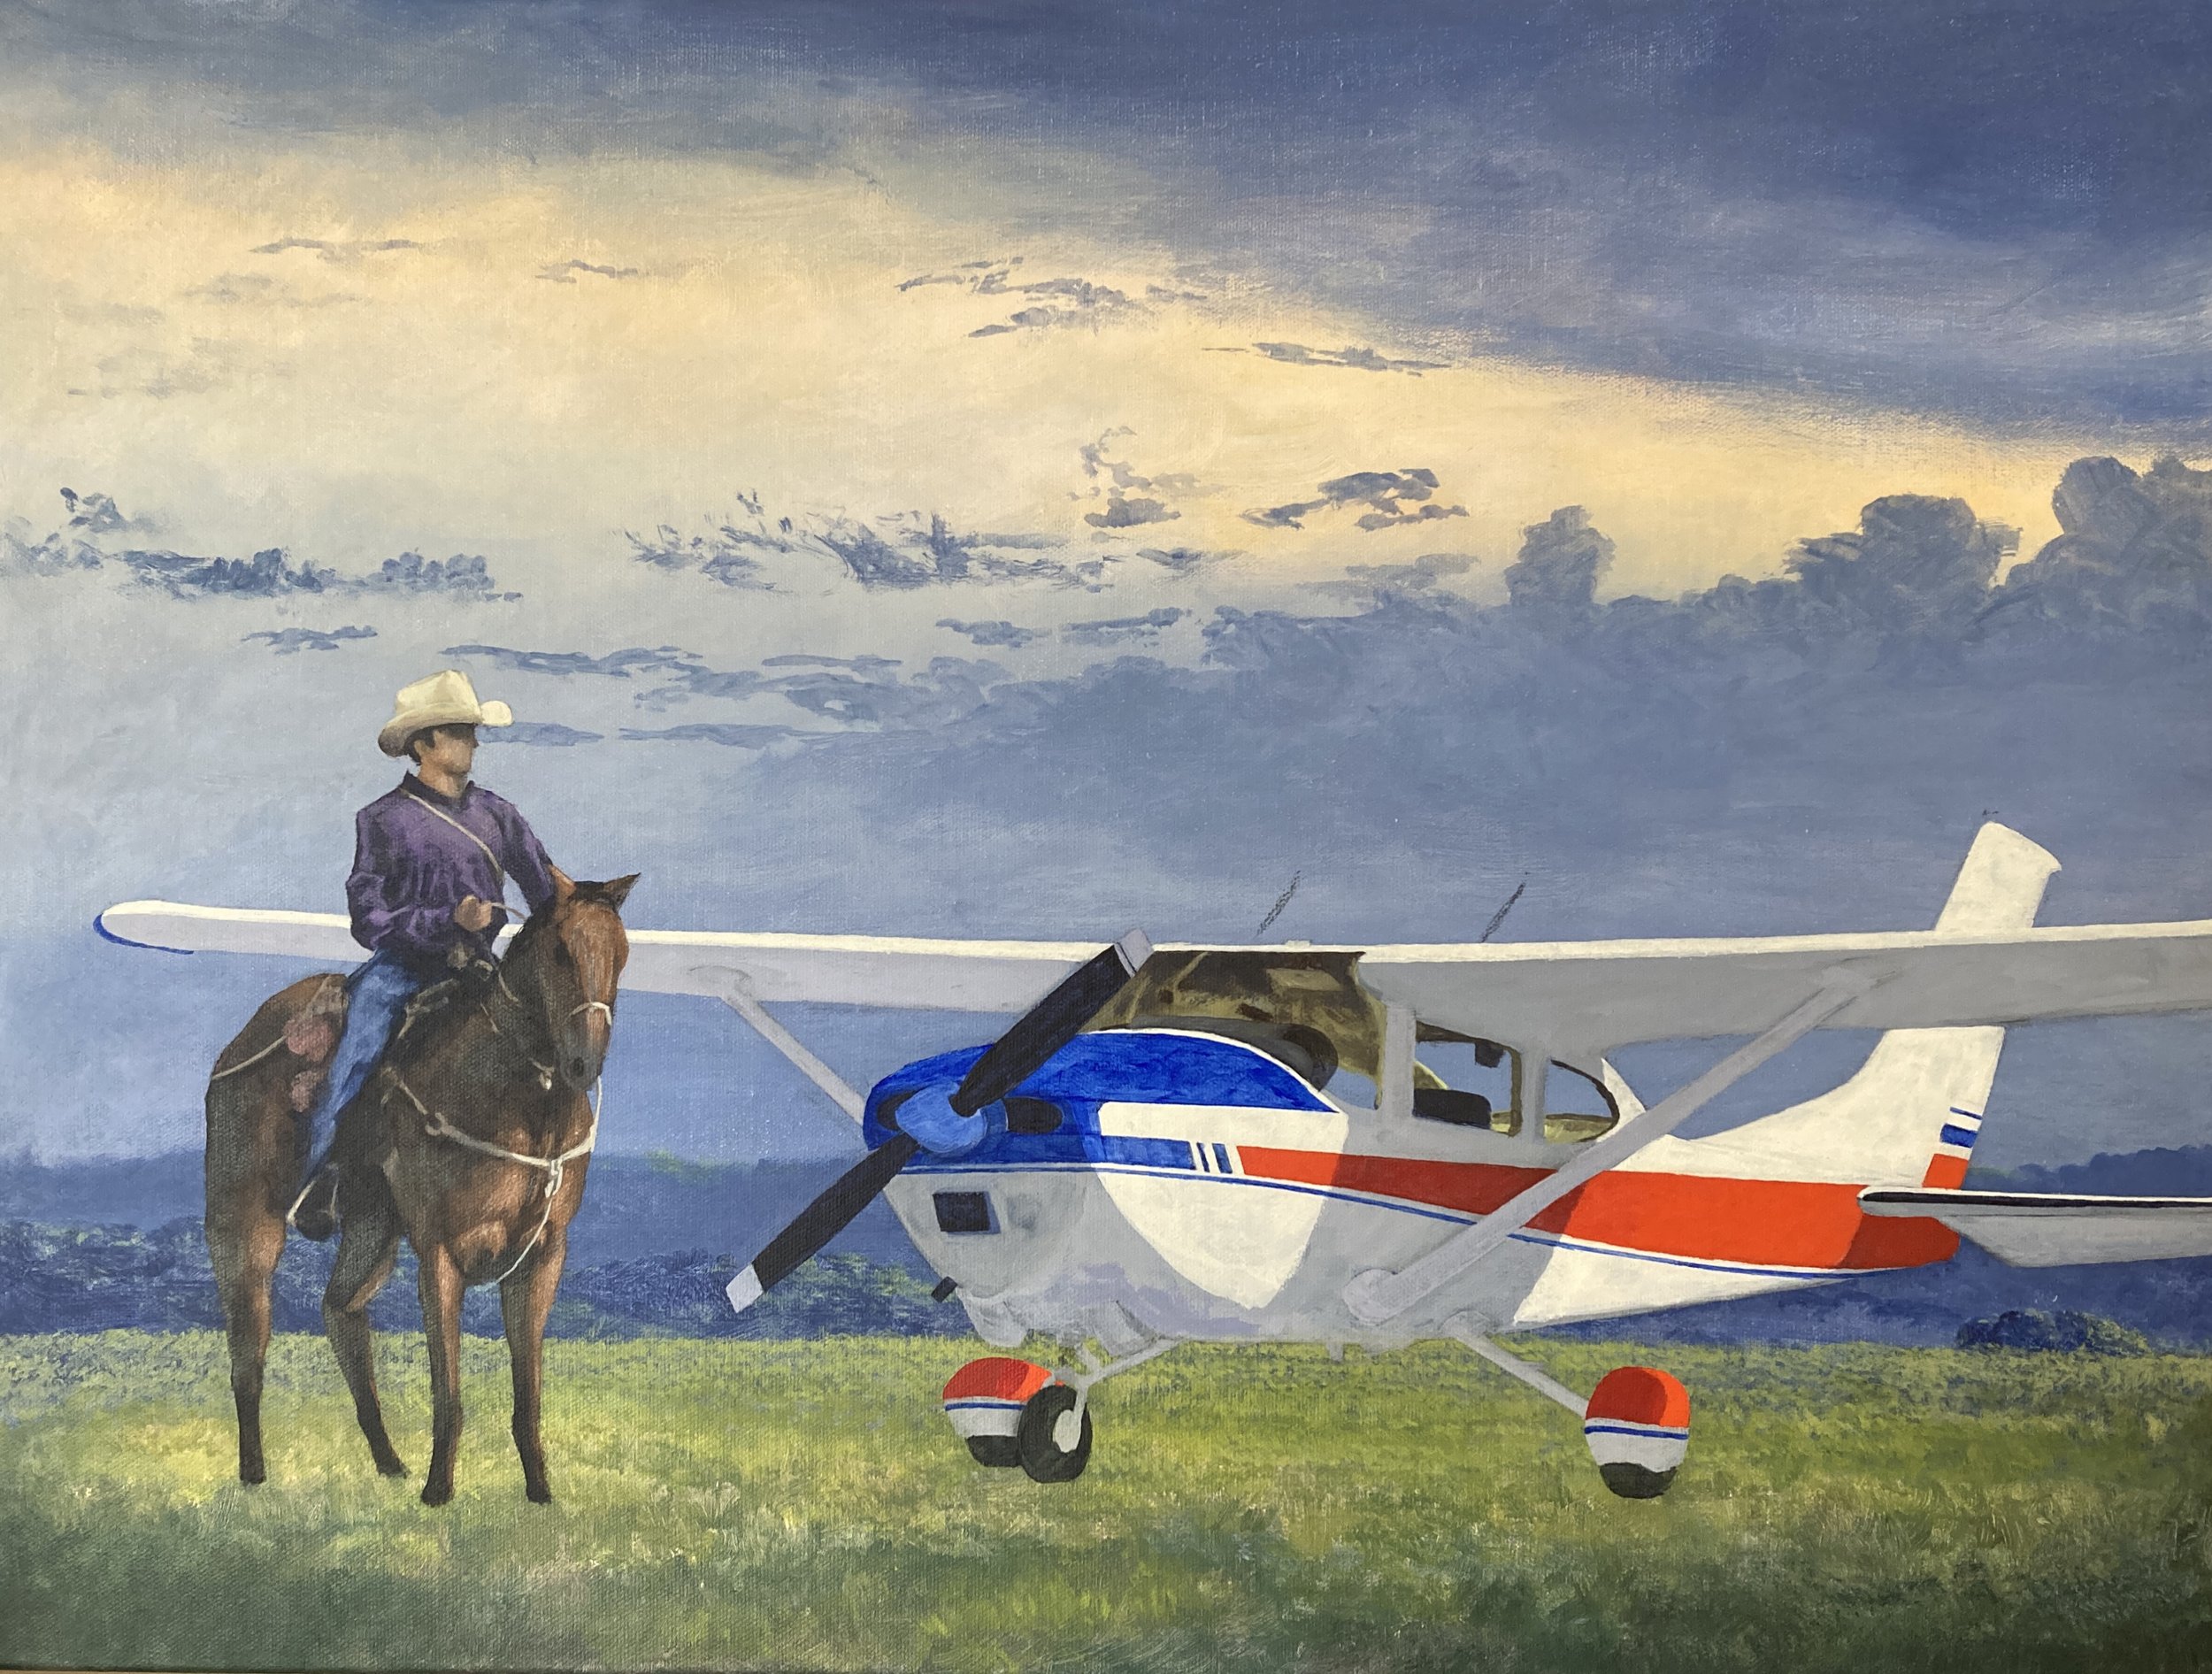
The Painting Process
Take a sneak peak of how I go about producing fine art oil paintings—from the original idea to the final coat of varnish.

Getting ready with the base layer of paint.

Blocking in the sky and adding clouds.

Shaping the underlying mountain colors.

Adding snow to the background mountain and giving it shape.

Adding snow to the next mountain.

Snow and highlights added on all three mountains. Blocking in the foreground.

Foreground details in place and blocking in airplane.

Final details completed on the airplane.
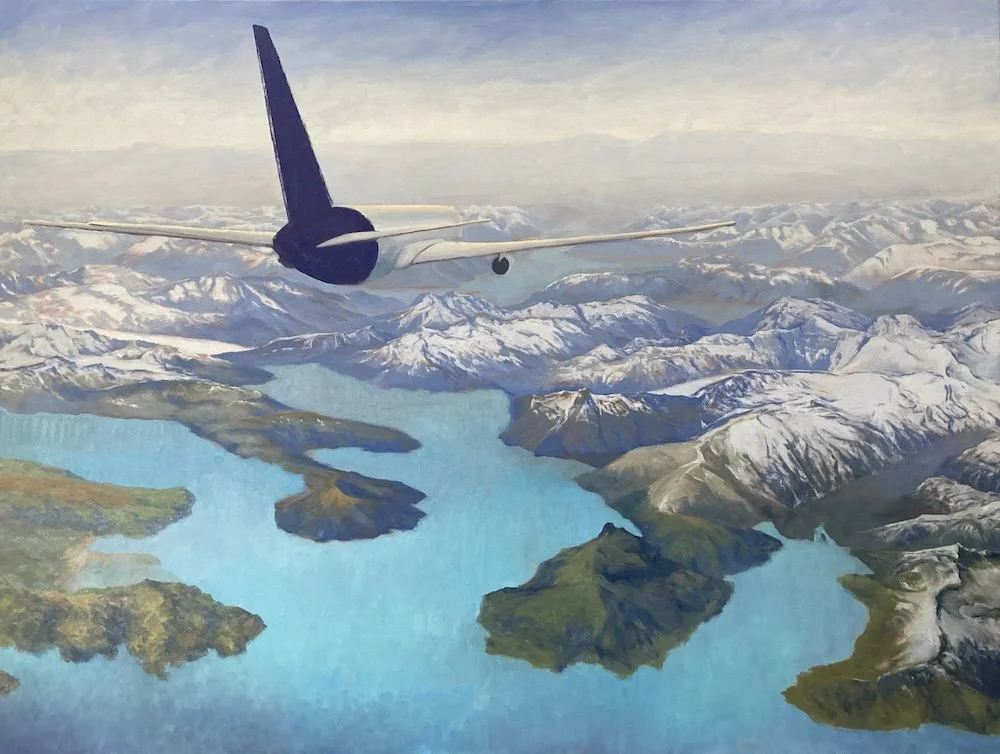
The Original Idea
The first element of any painting is the first inspiration which sparks the idea. In this case, a friend of mine wanted me to paint his airplane flying over the Alaskan mountains. I threw this demonstration together from Google Earth to give him a rough idea of what it might look like—with some compositional tweaks.

Research
I then went hunting online for pictures. Google Earth was helpful in getting the right perspective, since I wanted the painting to be a real place inside a real flight corridor. So I also visited FlightAware to get an idea of common flight paths, altitudes, and routes.

For the aircraft, I used online photos of Boeing 767s as well as pictures that I had taken from my airline pilot background. Originally, the idea was to paint a 777, but the client eventually settled on a 767—the aircraft he flew. I wanted the painting to carry recognizable 767 attributes, so I spent some time focusing on observable and proportional differences between the 767, 777, 757, and Airbus A300.

I also wanted to get a good idea of what the Alaskan mountains looked like—since I hadn’t seen them from that angle myself I figured it’d be a good idea to drum up some more online reference material. Google Earth was immensely helpful to find a proper landscape setting, but finding other photos which showed the defined shapes and colors was also helpful.
Preliminary Sketches
Once the main content research was done, I broke out the pencils and put together some rough ideas. When I was satisfied with these, it was on to a more in-depth color study on an actual canvas.
Practice Run

Having a practice session before I start painting a 3 foot by 4 foot canvas is always helpful. In this case, I got a feel for the vast amount of depth I would have to capture, the complexity in getting the contrast between the aircraft and the background, and the colors I should be aiming for.
All Set
With that I was all ready for getting out the big canvas and preparing it for paint. This involved getting a simple grid lined out on it so that I could get my mountains assembled correctly.

Base Coat
Getting a base coat applied to the canvas allows me to get some additional depth to the color as I add layers of paint. It also finishes the hard work of deciding where everything is supposed to go.

Blocking in Background
Finally time to start painting! I start with the background first, adding mountains as I go from background to foreground.

Middleground Mountains
I kept working my way forward, adding mildly darker shades of blue to add depth as I got closer to the viewer.

Ocean Water
The water was an interesting, bold touch. It doesn’t look immediately natural, but this is how water looks from the air—almost an iridescent green color.

Foreground Mountains and Aircraft
Here I hit a milestone—got the whole painting blocked in and ready for more layers of paint. I was happy with where things were, but I still had a few more modifications and layers of paint in mine.
Second Layer—Sky and Mountains
Starting in on my second layer now, I re-painted the sky, the background mountains, and the background water. In this process, the background layer of paint still comes through and enhances the color while the second layer of paint defines and adds detail.

Defining Middleground Mountains
Here I added detail to the middleground mountains, all the while adjusting the color and depth value.

Defining Foreground Mountains
Continuing the addition of detail to the foreground mountains.

Detailing Foreground
More detailing and modification was done to the foreground mountains. I also applied a second coat over the water and refined the aircraft in preparation for final details and highlights.

Detailing Aircraft
Lettering and details were applied to the aircraft, as well as some further adjustments to the foreground.

Final Details
Final details were applied across the board, to include mountains and aircraft crevices, and a final coat was applied to the water.

Varnish
About six months after the final touches of paint are applied, the paint has become fully cured. At this point, I use a mixture of matte and gloss varnish to seal the paint and preserve it for the decades and centuries to come.